If you are starting to record voiceovers, podcasts, streams, or videos, the microphone aisle can feel like a test you didn’t study for. Your first microphone does not need to be fancy. It needs to make you sound like you, only clearer, and it needs to fit the way you actually work. Most beginners get tripped up by two letters: USB and XLR. That fork matters more than brand names.
A USB microphone is the friendliest starting point. It has the audio interface built inside. Plug it into your computer or tablet, select it in your recording app, and talk. That simplicity is not a compromise for beginners; it is a feature. If you record at a desk, in a bedroom, or in a shared apartment, a USB mic can get you 80 percent of the way to professional sound with 20 percent of the fuss.
XLR microphones are the traditional path. They use a three-pin cable and require an audio interface or mixer to connect to your computer. That extra box gives you cleaner gain, better upgrade paths, and often more control. If you already know you will build a studio, record multiple people, or want to swap microphones without replacing the whole system, XLR makes sense. But for a first microphone, XLR means buying two things and learning two things. That is fine if you are curious, but annoying if you just want to hit record.
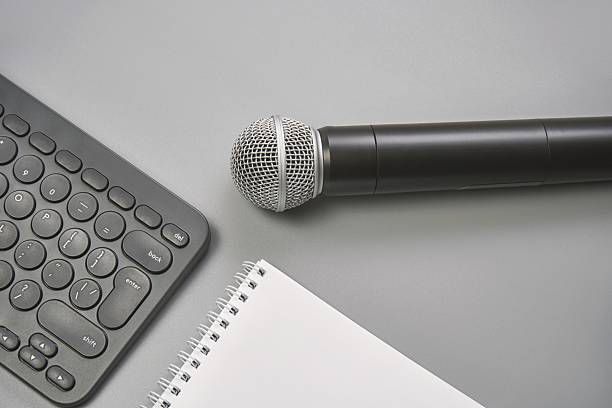
The next question is dynamic versus condenser. Condenser microphones are sensitive. They capture detail and room sound. In a treated room, they sound airy and polished. In a kitchen with a refrigerator humming and a dog barking two doors down, they capture all of that too. Dynamic microphones are tougher and less sensitive. They reject more background noise and handle loud sources well. For beginners in imperfect rooms, a dynamic microphone is often the smarter first buy. It will not pick up every breath and keyboard click with the same enthusiasm. If your recording space is a normal home, dynamic is usually the safer bet.
Polar pattern matters too. Cardioid means the mic listens mostly in front and ignores the back. That is what you want for solo recording. Omnidirectional picks up the whole room, which can be useful for interviews or ambient sound but is a headache for a first voice setup. Figure-eight hears front and back and rejects the sides. You do not need to memorize every pattern. Just look for cardioid on the spec sheet and you will be fine for most creator work.
Do not ignore the accessories. A microphone on a desk will pick up typing, mouse clicks, and the vibration of you bumping the table. A boom arm or desk stand with shock absorption helps more than an expensive cable. A pop filter or foam windscreen keeps plosives from punching the listener in the ear. A pair of closed-back headphones lets you hear what the microphone hears, so you can catch hums, fans, and weird room reflections before you record a whole episode. They turn a raw mic into a usable one.
Placement beats price. Put the microphone a few inches from your mouth, slightly off to the side so you are not breathing directly into it. Speak across the capsule, not straight into it. Turn off fans and air conditioners if you can. Hang a blanket or move to a closet if your room echoes. A cheap microphone placed well will beat an expensive microphone placed badly almost every time.
Finally, think about how you will use it. If you only ever record one person at a desk, a USB dynamic microphone is a great first purchase. If you want to grow into a mixer, multiple mics, or a podcast with guests, start with an XLR dynamic microphone and a simple interface. Either way, buy from a store with a return policy, record a test, and listen with headphones. Your ears will tell you more than any spec sheet. The best first microphone is not the one with the biggest price tag. It is the one that makes you press record.